
Makes 13X33X12 cm loaf | |
|---|---|
| Ingredients | Amounts |
| Bread Flour | 540g |
| Cake Flour | 60g |
| Dry Active Yeast | 10g |
| Fresh Milk | 250g |
| Sugar | 80g |
| Salt | 9g |
| Egg | 1 |
| Whipping Cream | 150g |
- Mix all the ingredients into a mixing bowl. Always remember to add in the yeast last as it will dehydrate the dough if its mixed together with salt and sugar
- Using an electrical mixer, mix the combination till a soft and non sticky dough is formed. This will takes roughly 10mins, depending on the speed of your mixer.
- Removed the dough and place it into another deep bowl. Cover the bowl with a wet towel and allow the dough to proof for 60 mins. The dough should expand double in size.
- Punch out the air in the proofed dough and divide into 3 portions. Roll each individual dough up like a ball and place to relax for about 20 mins.
- On a slightly floured surface, flatten the doughs and roll it up like a swiss-roll. You will have 3 swiss-rolled dough. Place these doughs into the loaf tin and allow another proofing. The dough should increase to about 70% of the tin.
- Bring to bake for 35 mins at 180 degree Celsius.
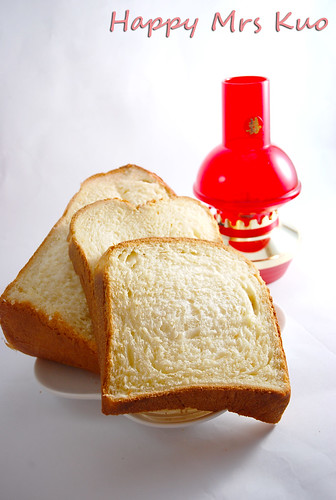
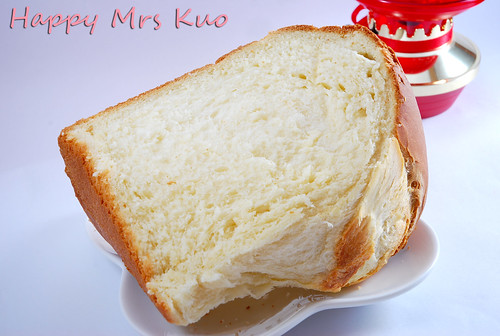
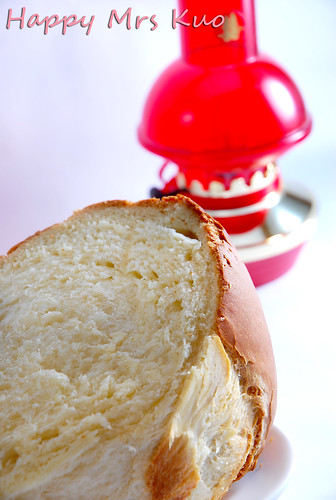
Once ready, allow cooling before slicing into pieces.
My friend, Amanda recommended me this recipe from Angie's Recipes". Always wanted to have a try on bread especially loaf breads and thus decided to make one today. The original recipe requires an additional 30g of Milk Powder but because I don't have that at home, I omitted it. By the way, I don't own a Bread Machine, therefore I had to gather the help of my mixer to dough the batter. Overall, was satisfied with my bread loaf as it tasted really fluffy and nice.
My Parents love it so does my Hubby and youngest Brother :) However, there is a need for me to practise my slicing skills. The whole loaf was almost destroyed by my lousy slicing techniques :(
Lastly, pardon the picture qualities if it seems slightly duller than the usual ones. One of the external flash went out of battery, thus could only took the pictures using one flash. The only one flash wasn't sufficient to brighten up the whole picture.
Learnt a lesson: Always back up before doing anything ;)


6 comments:
Hi Mrs Kuo,
Chanced upn your blog from Happy Homebaker. You have a nice chirpy blog and all your bakes look good! Keep going! :)
Hi Aimei,
Thank you for your comment :) I am still a novice baker so I really need to practise more.
Your bakes look delicious! Love the pandan muffins! I want to bake that!! Heee
Happy Mrs Kuo,
Just wondering how did you create those wallpaper-like background? I only know how to choose plain background and I don't like to use templates from blogger. :)
Oh~ You have to create an image first. Either you can use Photoshop or Fireworks or even some of the editing softwares that you desire. Once done, upload the image, says Photobucket. After that, you can just go into the HTML layout template in your blogger account and insert that image link.
In the html codings, search for this:
body {
background: url("your image link");
That'll do the job! :D
Thanks Mrs Kuo! hehe..
You look yound and I'm calling you that..haha feels kinda weird :P
Hi Aimei,
Nah! I'm 24! Not young anymore. LOL! If you need help with your layout, just give me a msg, I try to help out. I get to practise my codings anyway.
I'll leave you a msg if I need help on baking! Hehe
Post a Comment