Showing posts with label Pies and Tarts. Show all posts

Tuesday, January 26, 2016

Lately

What I have been doing lately in the Kitchen ✌


Korean Bibim Guksu (Spicy Mixed noodles)

Korean Kimchi Pancakes

Korean Seafood Pancakes

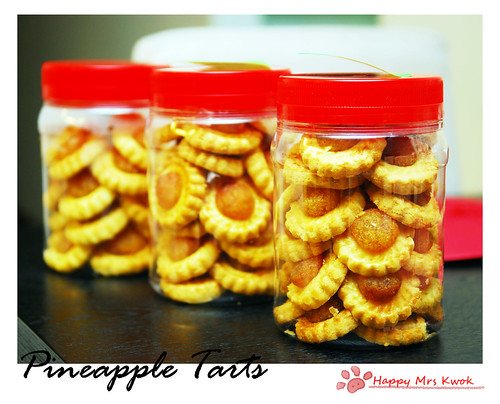
and I finally set a time to bake my CNY Pineapple tarts :)

Friday, May 22, 2015

Still alive.. the blog i mean :)

Although I have not been posting much recently, I did not give up on my kitchen or rather my oven.
Have been on/off doing some small bakes for the kids, family and friends. Trial tested a few macarons recipes but failed (feet visible but uneven or macarons did not rise the way I wanted), went for a Macaron class that specialized in Character macarons (Tsum-Tsum, Monster Inc, Totoro etc).

I have to say - most of the time I was busy figuring out the best/perfect Macaron recipe that works well for me because being someone who is on the visual side - I have my own expectations on how I would like my macarons to look like.

Prince Charming has been really supportive because for every batch of Macrons that I baked - It means he has to be the 1st guinea pig to sample them (Giggling) and then down a few weeks, you hear him complaining that he gained a few pounds (LOL), and to my pleasant surprise, I also have my little royal supporter - Baby Kwok #1!

It is amazing that every time I put on my baking apron, his eyes sparks and started his reasoning with me on why he should help me out in the kitchen. Technically, I love to have him baking with me but theoretically I preferred not to. I had previous scared to death experience where we were baking halfway through and he opened up the oven! Of course, I was not worried about failing the bakes but I was so afraid that the high heat coming out from the oven might hurt him. I guess I'll need to wait till he is much older before I brace enough courage to let him do some simple baking with me again.

Anyway, not a good writer so I shall stop my typing here. Pictures shall do the talking ;)

Pineapple tarts using Sonia's recipe. Love the Melt-in mouth texture!
Shared this recipe with my colleague who went crazily addicted to them.


The famous Ogura cake. Referenced Jennie's recipe but made some modification.
For mine - I replaced milk with Chocolate Soy milk and added Cocoa powder.


One of the Macaron recipe that I tried. Feets were visible but just not the kind that I wanted :/
Batter was undermixed as well - See the "nipples" on each macarons?


Went for a Macaron making class with one of July 2013 mummy. :)
It was a tedious class - My neck was so sore from looking down for 3 hours!


Saw a video on Facebook and decided to attempt it for breakfast because it is so simple!
Original recipe calls for Tomato puree as the spread and mashed Avocado for borders.
Mine was a simplified version -Tostitos Creamy Spinach dip as the borders, egg and Swiss cheese.


Another recipe that I tried for Macarons - Love the feet but the macarons were not even. Some of the
sides had no feet and they were hollow. Prince Charming took a bite and it went down his shirt.


Now.. here is my perfect Macarons (in my personal opinion)! Love the feet and overall.
Easier than most recipes and it managed to survive in a humid environment!


Same recipe with different flavors - This was a green tea buttercream


This was Chocolate buttercream! The texture of these Macarons were crispy on the outside and chewy on the inside.


Now that I mastered the art of making Macarons, Prince Charming requested for them to bring to work. I used the egg tray to store these macarons :)


Friday, March 18, 2011

Finally I BAKED

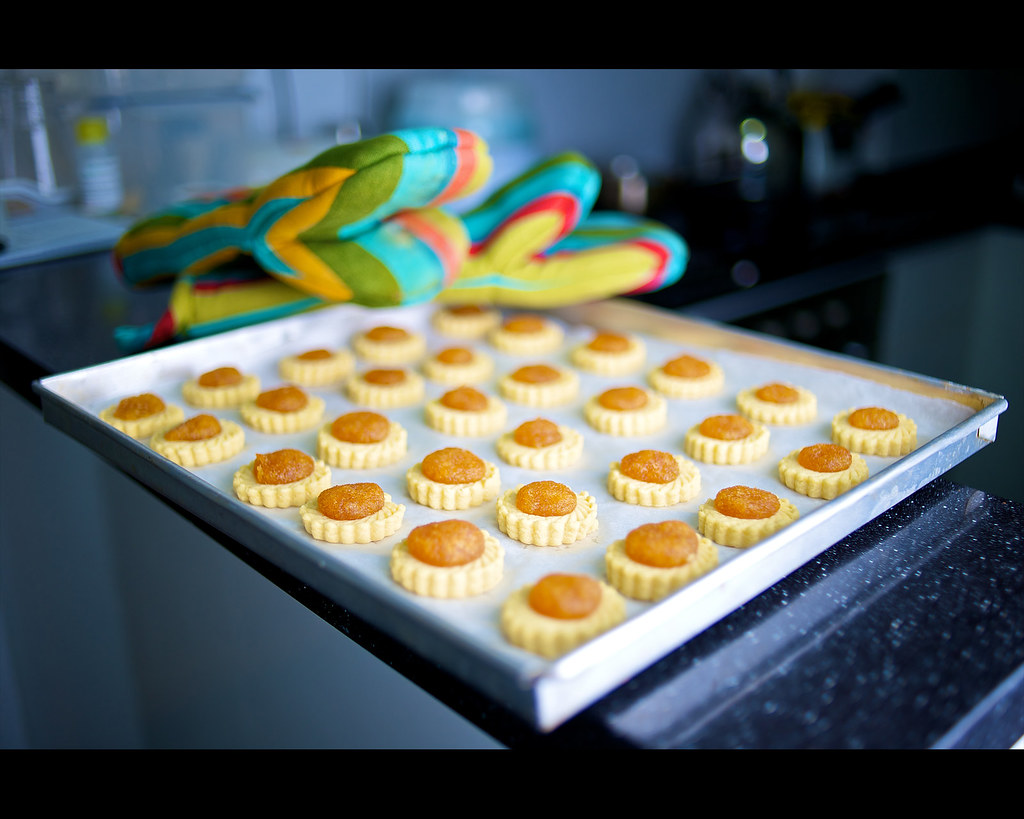
Alright, this is super long overdue. I did eventually baked for Chinese New Year. Nothing fancy, nothing weird, nothing shocking just my usual Pineapple tarts :)

I guess I did improves when it comes to molding the tarts but on the other hand, I need to be more well organised. I was panicking in the kitchen - For fear that my Baby Kwok will cry anytime! Also, I'm just too lazy to cook Pineapple jam which I even proudly told Prince Charming that I'll make my own Pineapple Jam this year. Ptttffff.... I shouldn't have brag it too early.

Nevertheless, pretty proud of my little tarts and my friends commented they were nicers than the usual ones I baked previously! Why? Because I decided to switch to a new recipe and adopted Little Teochew's recipe :)

Happy Munching!


Psss... I wanted to use my signature on my picture but guess what, my macbook ran out of space! I can't even save my works after editing them! Grrrrrrrrrrr... I need a new laptop!! Maybe a Macbook Pro?

Monday, January 12, 2009

2 Weeks more to go

What will be coming up in 2 weeks time? Clues? Hints?
*Drums Roll...* It's Chinese New Year! I'm seriously getting anxious and excited about it.
I've always likes Chinese New Year, mainly because of the good festive foods, other than that it is probably given the privilege to buy new clothes without being nagged ;)

I have been getting ready with Chinese New Year - Spring cleanings (not entirely done though) and some bakings. Like last year, I baked Pineapple Tarts. It was sort of tedious because I only baked them once a year so you can imagine the mess I've done to my kitchen :(

After slogging in the Kitchen for 3 consecutive days, I only manged to baked 3.5 tubs. 4 more tubs to go! Gambate! I know I am really slow but what can I do? I'm a amature baker!

Friday, March 14, 2008

Mini Fruit Tarts


Custard Cream
For at least 20 tarts

IngredientsAmounts
Corn flour2 tbsp
Egg yolk1
Sugar2 1/2 tbsp
Milk100ml

  1. Combine yolk and corn flour together. Whisk till both ingredients are well blended.

  2. Add the sugar slowly into the yolk mixture and mix well.

  3. Warm the milk over low heat. Do not allow the milk to boil..

  4. Stir the warmed milk gently into the yolk mixture and make sure all are well mixed.

  5. Put the mixture on low heat and keep stirring till mixture gets thicken.

  6. Leave to cool and ready to be use.


Tart shells
Makes at least 30 mini tarts

IngredientsAmounts
Cake flour500g
Icing sugar150g
Soften butter250g
Whole eggs150g

  1. Combine butter and icing sugar and mix till light and fluffy.

  2. Add in the eggs slowly and blend well. Make sure that egg is well corporate into the mixture before pouring in another portion.

  3. Once mixture is ready, stir in 2/3 of the flour and mixed well. You may use a mixer as it save a lot of time. Put it on low speed.

  4. Once a dough is form, scoop the dough and knead it gently. Combine the remaining flour and make into a smooth dough.

  5. Roll the dough into longular shape and cut into small equal portions (around a ping pong ball size).

  6. Shape the dough into the tart mould.

  7. Bring to bake at 180 degree Celsius for 20~ 25 mins or when turn brown.


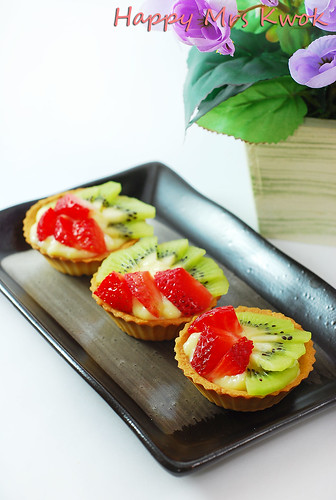
Scooped the custard cream and fill it into the tart shell. Topped each tart shell with fresh fruit and ready to be serve.


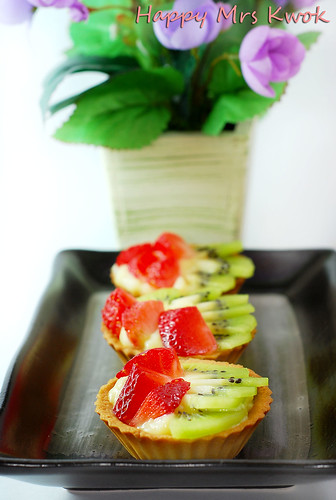
I baked these mini fruit tarts for my colleagues and really gald that they like it :)
It's been quite sometime since I last baked something for them and since it's a Friday, having a little treat for them seems fabulous.

Supposed to top the tarts with peach slices too but I think I cut the strawberries and kiwi fruit a tad too huge. No space to squeeze in the peach. Lol. I tried one myself and really like the custard cream. DIY custard cream is so yummy!


Tuesday, January 01, 2008

Chicken Pie


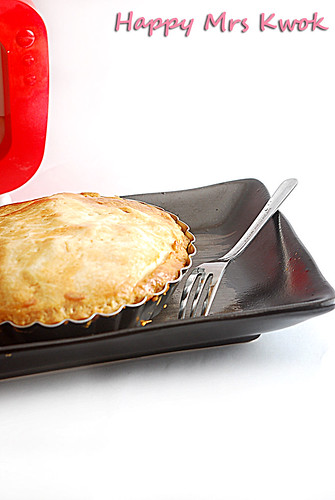
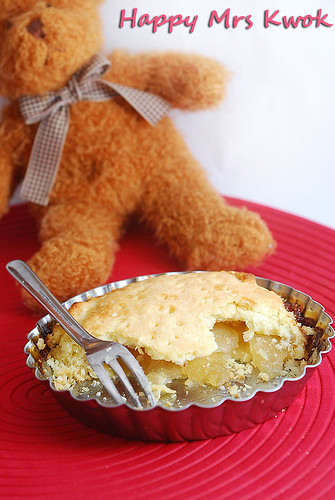
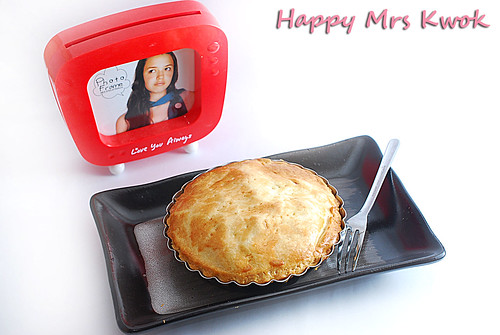
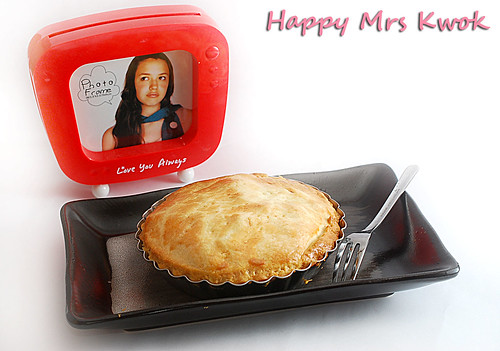
Makes 2 (9cm Mini Pie Pastry)

IngredientsAmounts
Bread Flour 260g
Butter (Soften) 160g
Icing Sugar 20g
Water 50g
Salt2g


Chicken Pie Filling
IngredientsAmounts
Diced Chicken Breast
250g
Butter
50g
Diced Onion
1 Medium one
Ham (Diced)
4 Slices
Mixed vegetables
1 rice bowl
Salt
3 Tsp
Chicken stock
2 tbsp
Corn starch solution
40g + 2 tbsp water
Boiled diced Potatoes2 small ones

Pie Pastry :

  1. Combine all the ingredients for the pie pastry together.

  2. Blend into a smooth and buttery mixture and ensure that all ingredients are combined nicely.

  3. Bring to chill for at least 1 hr.


Chicken Pie Filling:

  1. In a wok, melt the butter. Add in the diced onions and fry till fragrant.

  2. Stir in the diced chicken and cook well. When chicken is cooked, stir in the ham and blend well.

  3. Add in chicken stock and simmer for 2 mins. Stir in the mixed vegetables and potatoes.

  4. Blend well and simmer for another 2 mins. Add in salt for seasoning.

  5. Stir in the corn starch solution and blend well. Mixture should gets thicken. Set aside.


Sweet Pear Tart:
  1. Roll out the chilled pastry dough.

  2. Flatten into a thin round shape. Ensure that the dough shape is bigger than your pie pan.

  3. Place the pastry over the pie pan and cut out the excess dough.

  4. Poke holes onto the bottom of the pie pastry using fork.

  5. Add the chicken pie filling into the pie pastry.

  6. Cover the pie with another rolled pie pastry.

  7. Bring to bake at 180 degree Celsius for 45 mins.


Baked these chicken pies for our Picnic session tomorrow. Opps, I mean today! Gosh, only to realised that it's already 2:00AM in the morning when these pies came out pipping hot.

Practically most employees are on half day work today and thus, after my work, I headed off to Takashimaya for lunch. My Royal Prince Charming had his company lunch thus, I was strolling alone in Takashimaya for almost 2 hrs before his arrival.

We shopped the whole day and only managed to reached home at 1030pm. Getting the stuffs prepared and ensuring that my pie pastry is chilled enough took me quite sometime. Nevertheles, I am satisfied with my Chicken Pies. They smell so nice and I'm hungry now :S

Monday, December 31, 2007

Sweet Pear Tart


Makes 2 (9cm Mini Tart Pastry)

IngredientsAmounts
Bread Flour 260g
Butter (Soften) 160g
Icing Sugar 20g
Water 50g
Salt2g

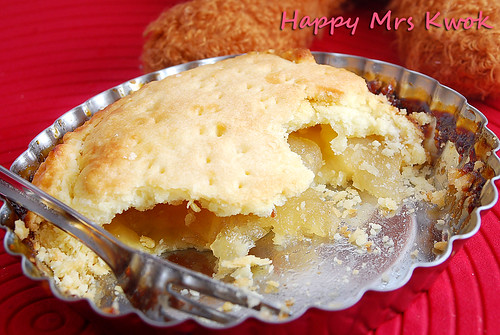
Caramel Pear Filling

IngredientsAmounts
Pear
1 Big one
Sugar
1 Cup
Water
3 Tbsp

Pie Pastry :
  1. Combine all the ingredients for the pie pastry together.

  2. Blend into a smooth and buttery mixture and ensure that all ingredients are combined nicely.

  3. Bring to chill for at least 1 hr.

Caramel Pear filling:

  1. Slice the pear up into small pieces.

  2. Place the sliced pears into a pan, add in sugar and water. Blend well.

  3. On medium heat, simmer the mixture till pear is soften.

  4. When mixture starts boiling, lower the heat to small and allow the pear to cook further so that it will be very soft.

  5. Leave to cool.
* As pear contains an amount of fluid, there will be more liquid when cooking. Thus, you may need to scoop up the excess liquid.*


Sweet Pear Tart:

  1. Roll out the chilled pastry dough.

  2. Flatten into a thin round shape. Ensure that the dough shape is bigger than your pie pan.

  3. Place the pastry over the pie pan and cut out the excess dough.

  4. Poke holes onto the bottom of the pie pastry using fork.

  5. Add the caramelized pear filling into the pie pastry.

  6. Cover the pie with another rolled pie pastry.

  7. Bring to bake at 180 degree Celsius for 45 mins.


The pears were another complimentary "gift" from my Mother in law. They were with us for quite sometime and both me and my Royal Prince Charming hardly got the time to cut them up and swallow them down our stomach. Well, lazy bug is working up on us as usual.

Anyway, I realised that the pears were turning soft, a sign that tell me to act before they starts rotting in my fridge. Was thinking of doing a fruit salad but my Royal Prince Charming doesn't like plain yogurt because he finds that they are too sour for his liking. Thus, I decided to made them into tarts. Noticed that the shape of my pear tart looks kind of weird? That's because I did not roll the pastry big enough to cover the pan thus, I had to wrap them up instead ;)

The caramelized pear filling was done by intuition and it was miracle that it's my type of tea. I like it sweet without the taste of any spice. The tart was crispy even after it became cold. My Royal Prince Charming like the tart and asked if I could make them for our Picnic session on Monday. That's a sure do :)